
This guide is based on a browser-recorded walkthrough in the rebuilt DrillerDB console. When a step can send, submit, export, or change account access, the guide calls out the review boundary.
Maps & Geology is the location review workspace for office dispatch, route planning, public well context, and geology estimation. Use Maps to inspect project and service-job pins, filters, layers, pump installers, historical wells, route planning, township lookup, and fallback map data. Use Geology to prepare coordinates, review the AI estimator, and inspect recent estimation history. This guide is read-only and stops before creating projects, saving map annotations, exporting map data, routing crews, or starting an AI geology job.
Quick Start
- Open Maps and review Job Map, Pump Installers, and Historical Wells tabs.
- Use status chips, Layers, Filters, Search, Route, Township, and Help to orient the map before changing records.
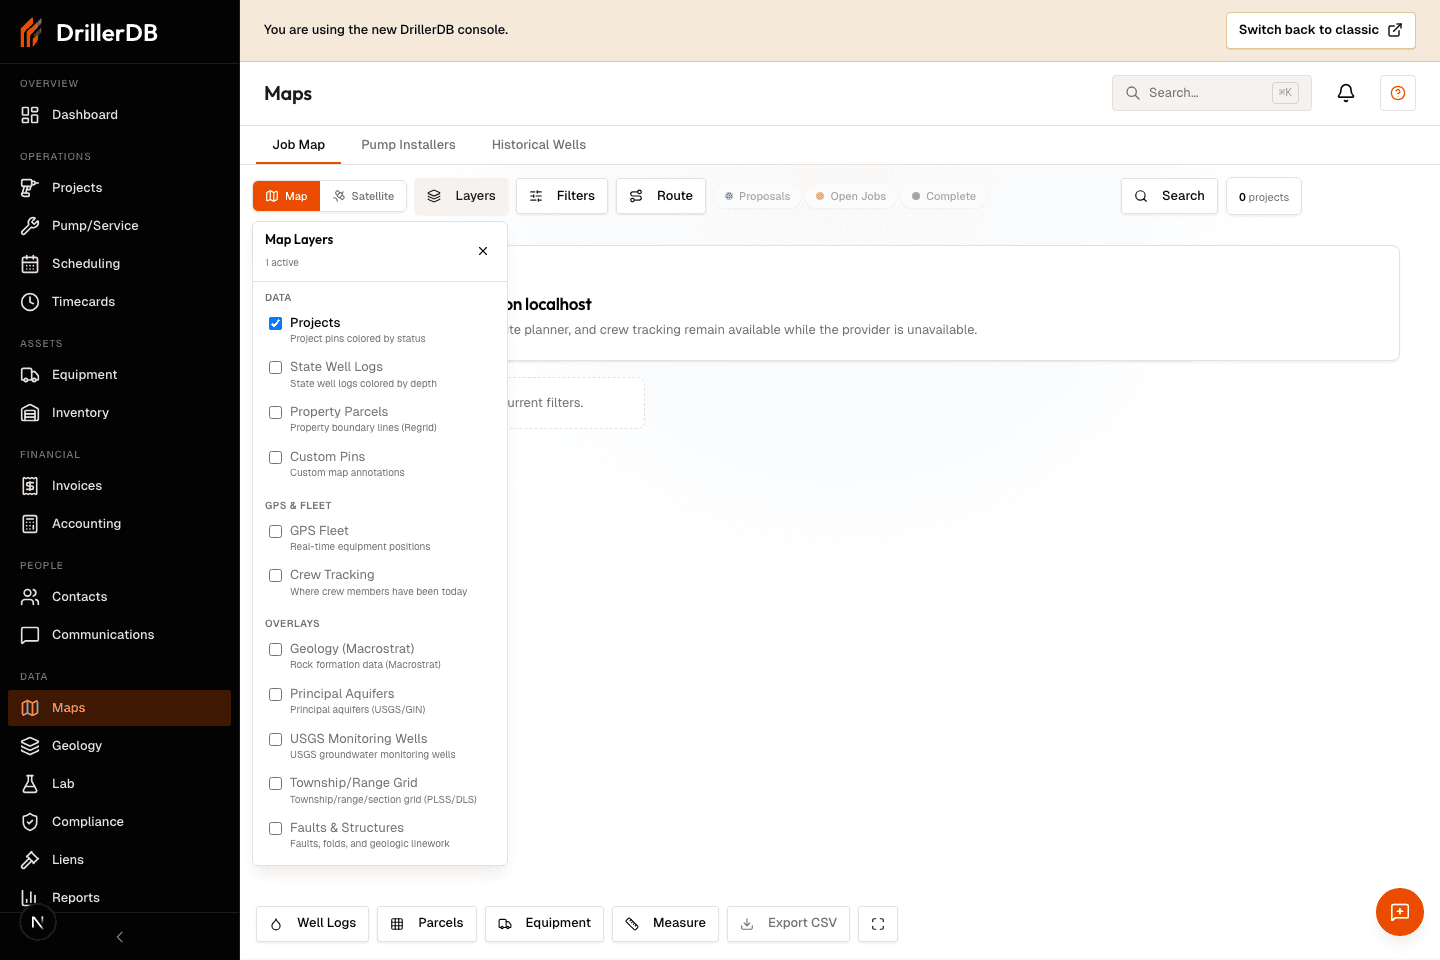
- Open Layers to review project, work-order, GPS, public-well, geology, aquifer, and township overlays.
- Review Site hazard screening on the project Overview or Hazards tab, or while selecting a location for a new project. Choose Review mapped hazards for the full map with hazard, groundwater pollution sensitivity, and source-water protection layers selected. Coverage varies; missing data is not clearance.
- Open Geology and enter coordinates only when the location is ready for estimate review.
- Stop before creating map annotations, saving locations, exporting data, routing crews, or starting an AI geology job.
Step-by-Step: Maps & Geology
Open the Maps workspace
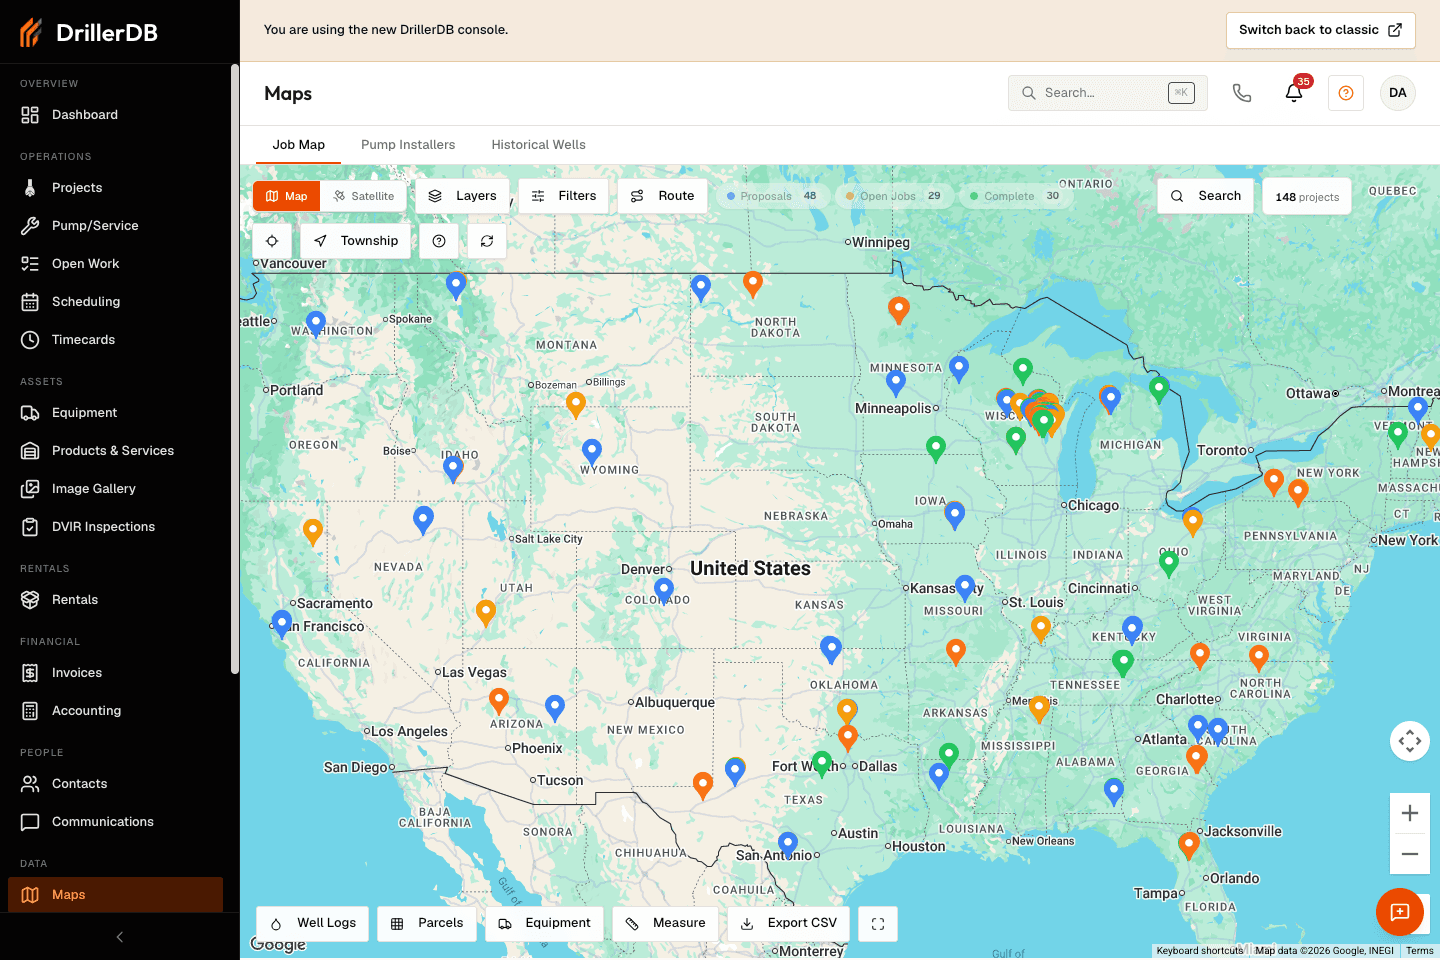
Open Maps to review the Job Map, Pump Installers, and Historical Wells tabs. The map toolbar keeps status chips, layers, filters, route planning, search, locate-me, township lookup, refresh, and the built-in map guide in one place.
On localhost, the map may render as a fallback canvas if the Google Maps key is missing or restricted. The project data, tabs, filters, and guide controls still remain visible for review.
Review layers and filters
Open Layers to decide whether project pins, Pump/Service jobs, wells, parcels, GPS fleet, crew breadcrumbs, pump installers, custom pins, geology, aquifers, monitoring wells, townships, or geologic structures should be visible. Use Filters when the office needs to narrow by employee, well type, drill type, priority, or Pump/Service category.
Site hazard screening shows current agency readings on the project Overview and Hazards tabs, and beside the site location when creating a project. Select an address suggestion or use Check site hazards with a street address, city, and state. Confirm the proposed well position on the map. For a wider view, choose Review mapped hazards from the project's Hazards tab. The map opens in a new tab at the project GPS location (or its complete street address) with Geologic Hazards, Groundwater Pollution Sensitivity, and Source-Water Protection Areas selected. Click the proposed site to review source readings. Return to project hazards when finished; your original tab keeps any unsaved setback entries. Coverage varies by source and location. No data does not mean safe, and mapped screening does not replace field measurements or local requirements.
Use map guide, tabs, and route context
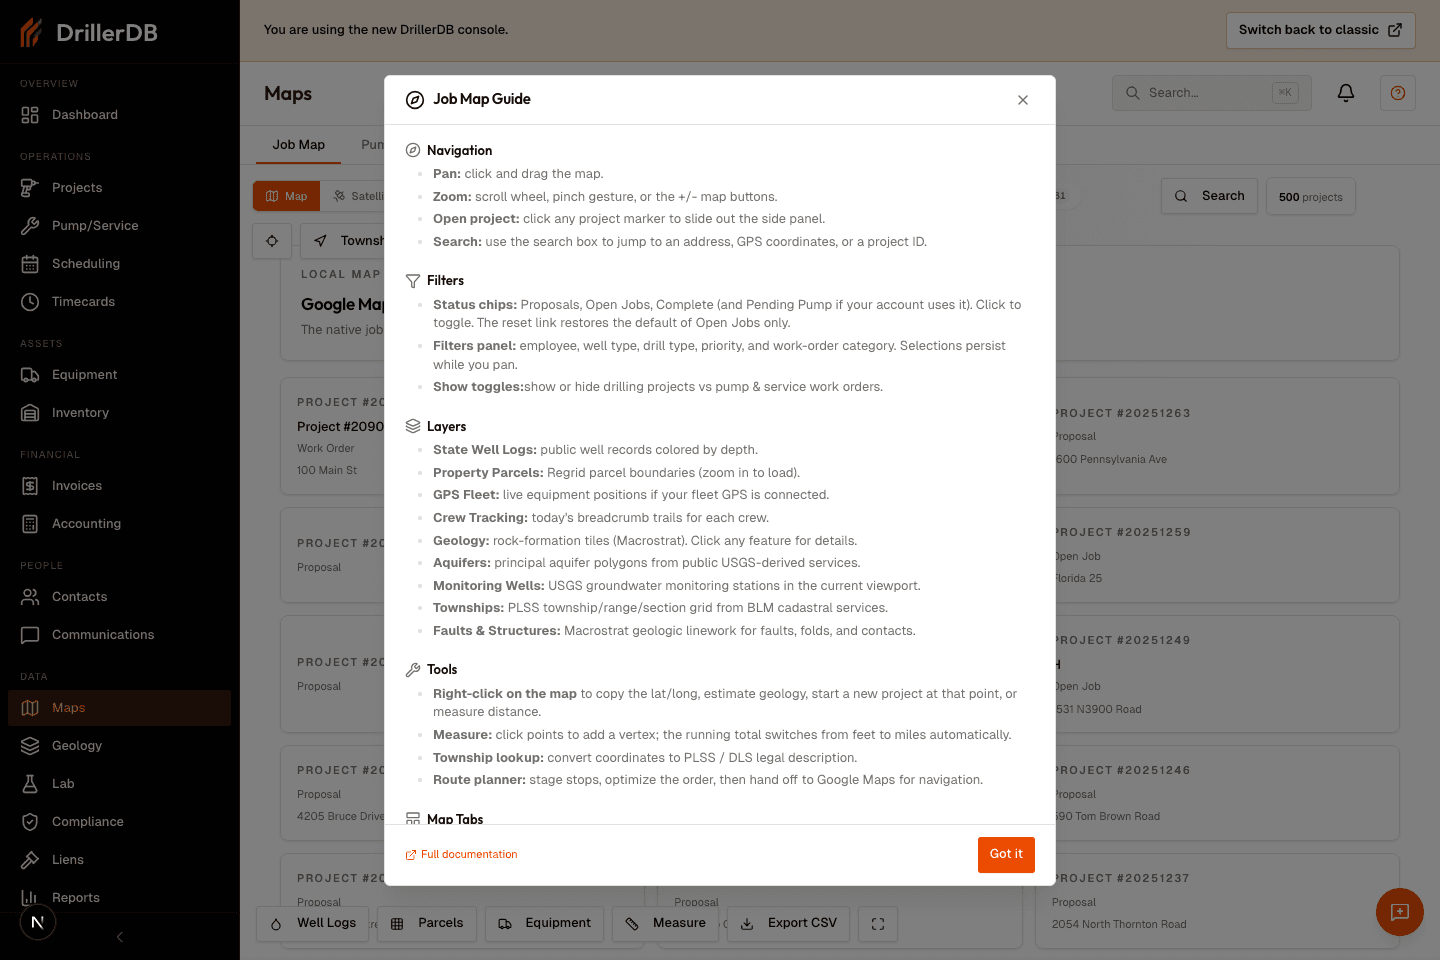
Open the built-in map guide when a user needs a quick reminder of search, filters, overlays, township lookup, route planner, pump installers, or historical wells. Switch tabs to review pump/service partner context or public historical well data without changing any records.
Prepare a geology estimate safely
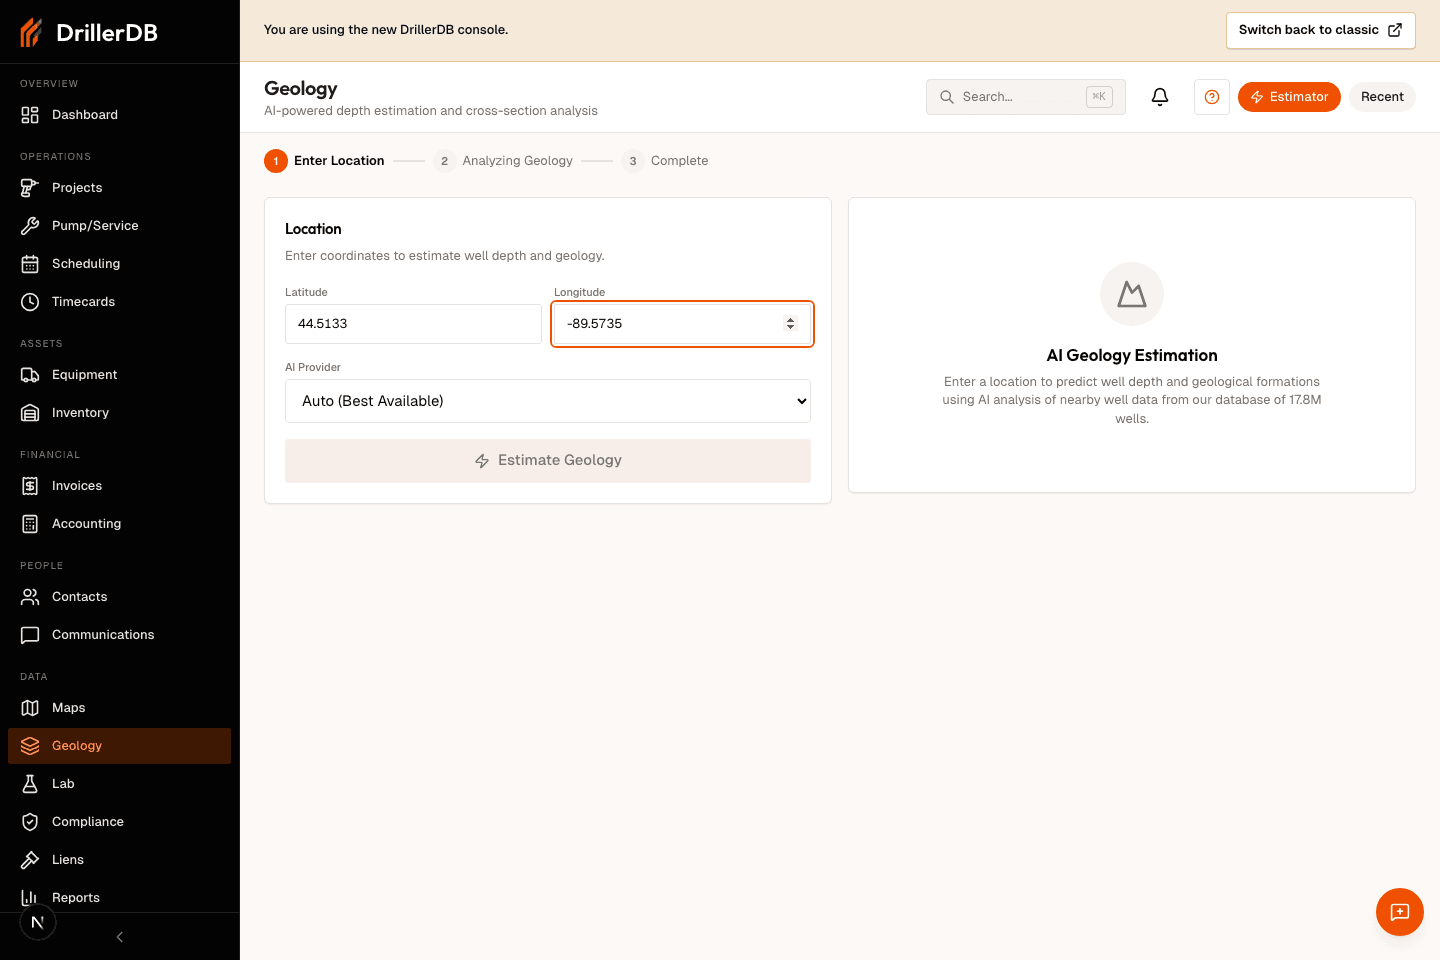
Open Geology, enter latitude and longitude, and choose the AI provider only when the location is ready. The estimator can start a real geology job, so the guide recording fills the fields and stops before clicking Estimate Geology.
Use the map context menu or a project location to carry coordinates into geology review, then verify the coordinates before starting the AI job.
Review recent geology history
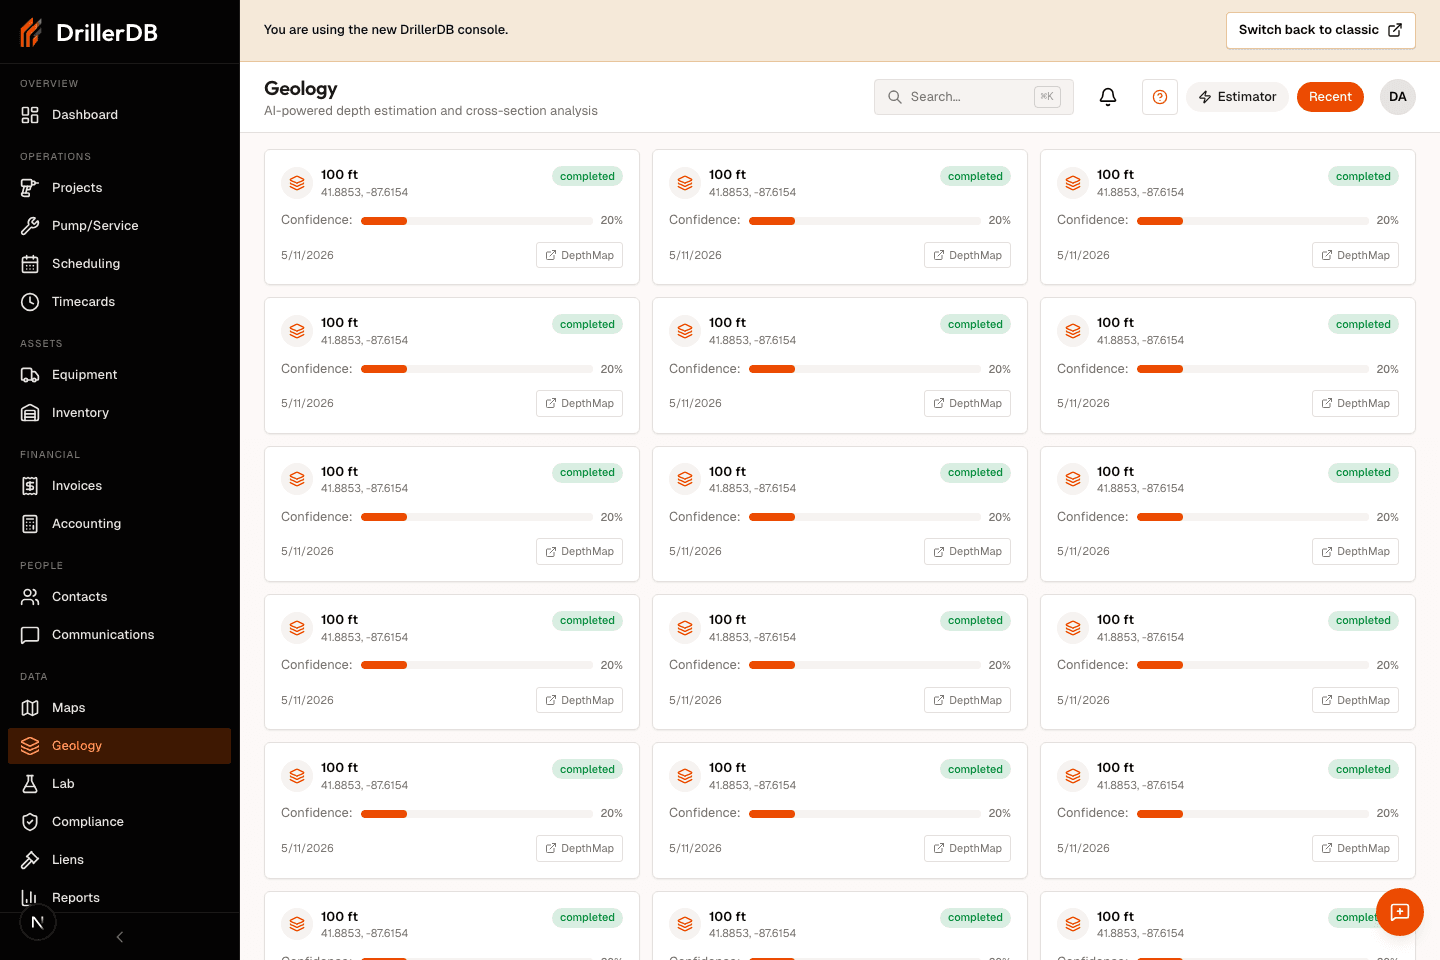
Switch to Recent to inspect existing geology estimation results and DepthMap links. This is a review surface; opening DepthMap leaves the console and starting a new estimate remains a separate approval point.
Location and AI-job boundary
This guide records map and geology review surfaces only. It does not create a project from the map, save a custom pin, export map data, change a route, open an external navigation handoff, or start an AI geology estimation job.
Use location saves, route changes, exports, DepthMap links, and Estimate Geology only after the office has reviewed coordinates, project/customer context, crew handoff, and any external destination.