
This guide is based on a browser-recorded walkthrough in the rebuilt DrillerDB console. When a step can send, submit, export, or change account access, the guide calls out the review boundary.
After the crew has completed the work and the office has reviewed the field report, well log, and permit paperwork, the Invoice tab turns the finished job into a customer invoice. This guide uses a completed drilling project, enters the completed-work line item, saves it to the project, and creates the invoice without sending it so the office can review the customer-facing record before delivery.
Quick Start
- Open the completed project Invoice tab.
- Add the completed-work line item with the final quantity and unit cost.
- Click Save to store the invoice line items on the project.
- Click Create Invoice and review invoice number, recipients, terms, and delivery settings.
- Click Create Without Sending when the office needs a reviewable invoice record before customer delivery.
Step-by-Step: Create an Invoice from Completed Work
Open the completed project Invoice tab
From the completed project, open the Invoice tab. Confirm you are working from the project that has the final well log, field report, and completion context, so the invoice reflects actual work instead of an estimate.
If the well log or permit paperwork is still incomplete, finish that office review first. Billing from completed data is the point of this workflow.
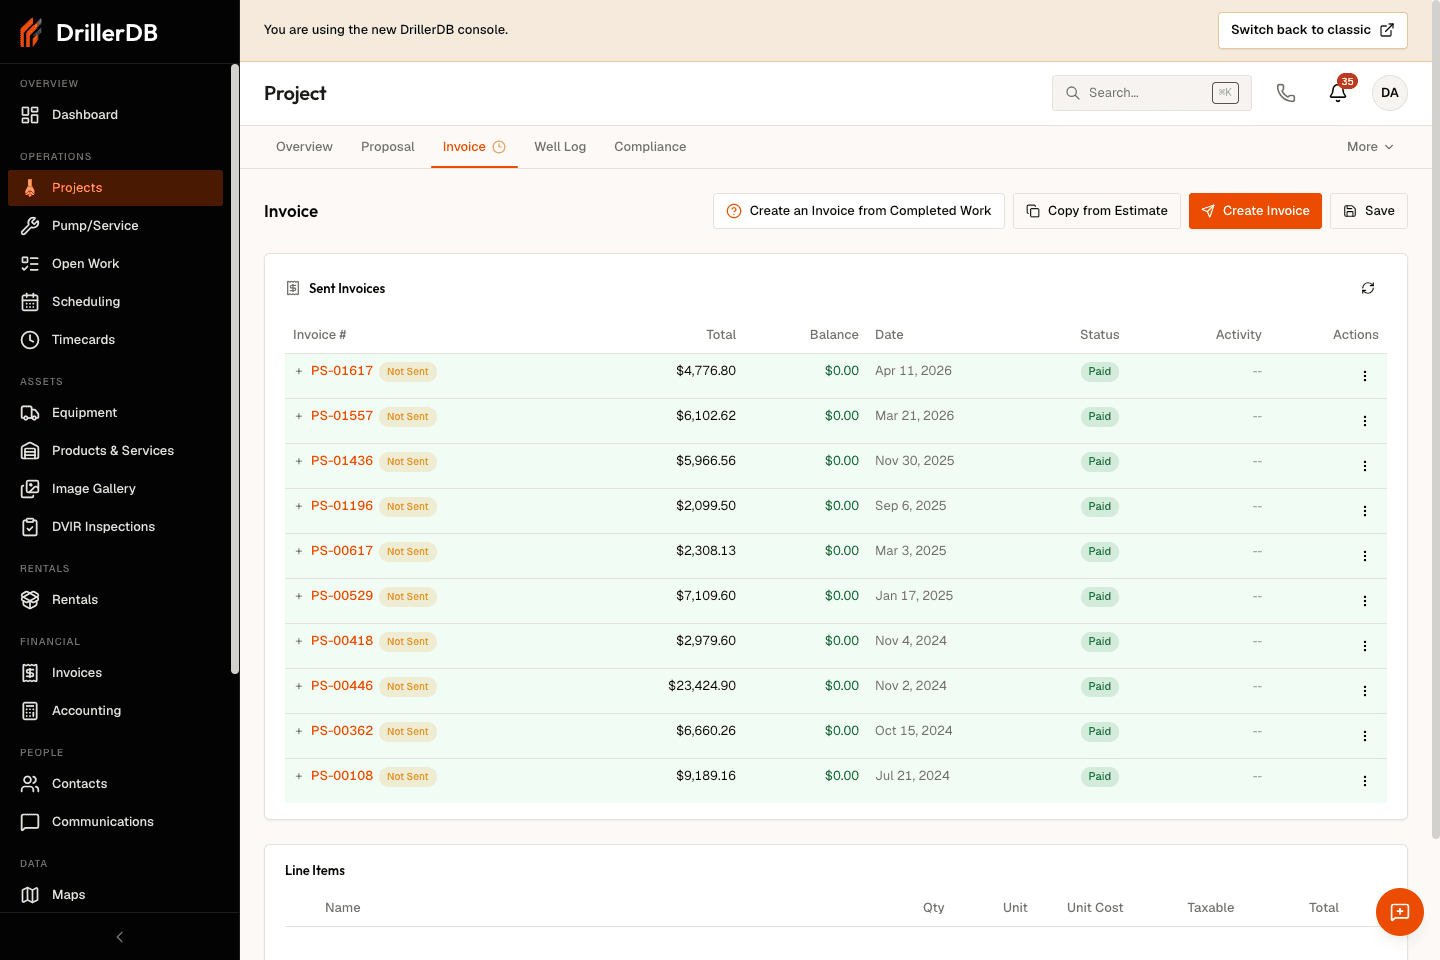
Add the completed-work line item
Click Add Row and enter the billable work, description, quantity, and unit cost. Use the final well depth, service items, or approved office totals as the source for the quantity and price.
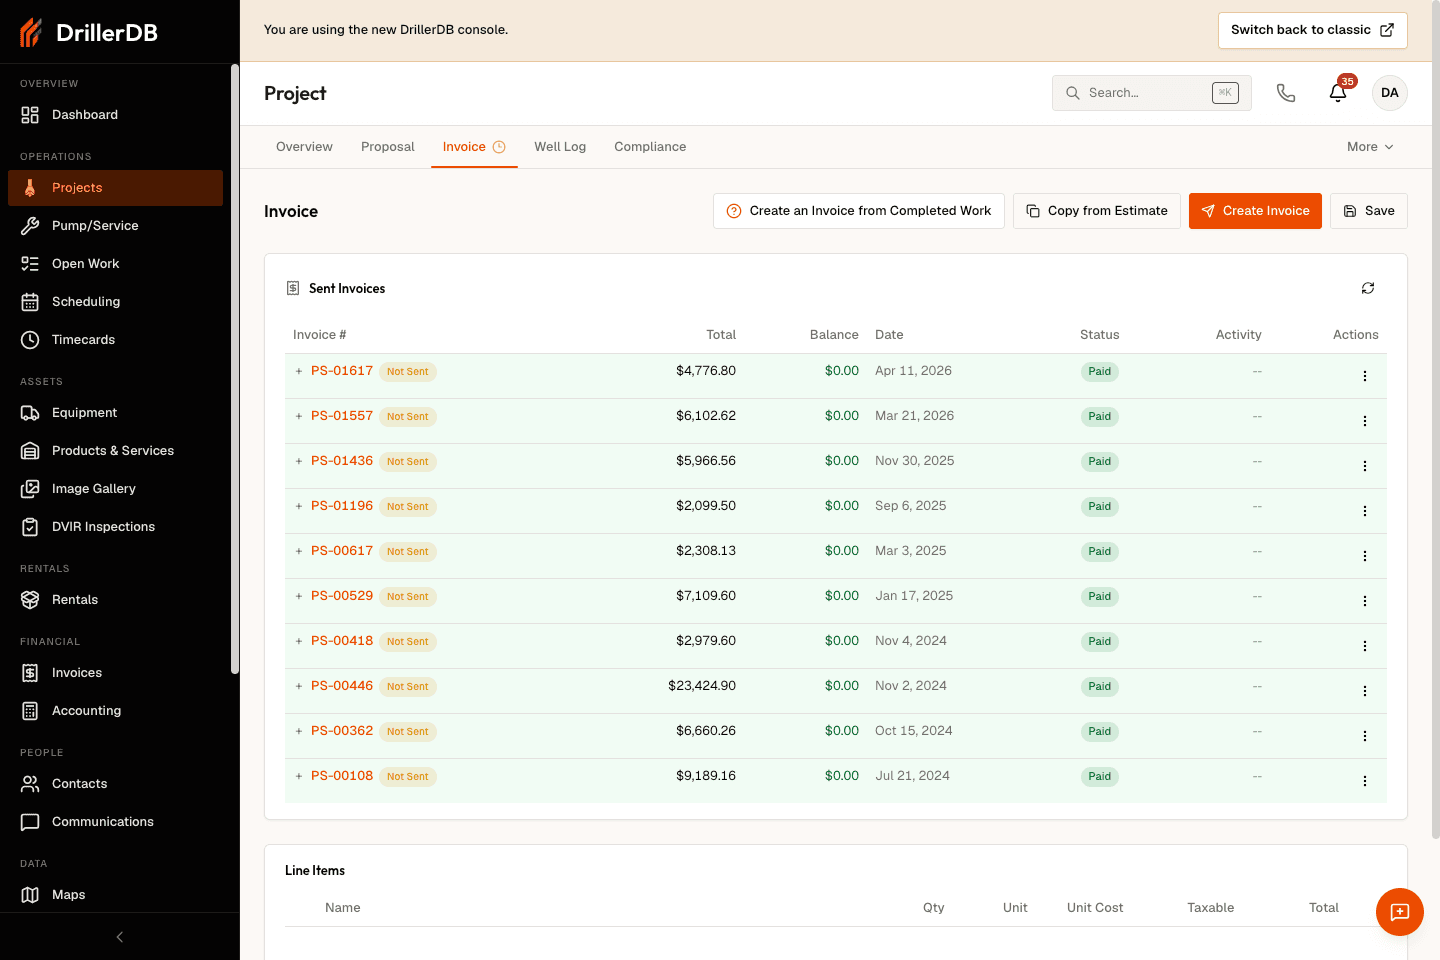
Save the invoice line items
Click Save. DrillerDB stores the invoice line items on the project actuals record, which keeps the final billable work available when you create or revise the invoice.
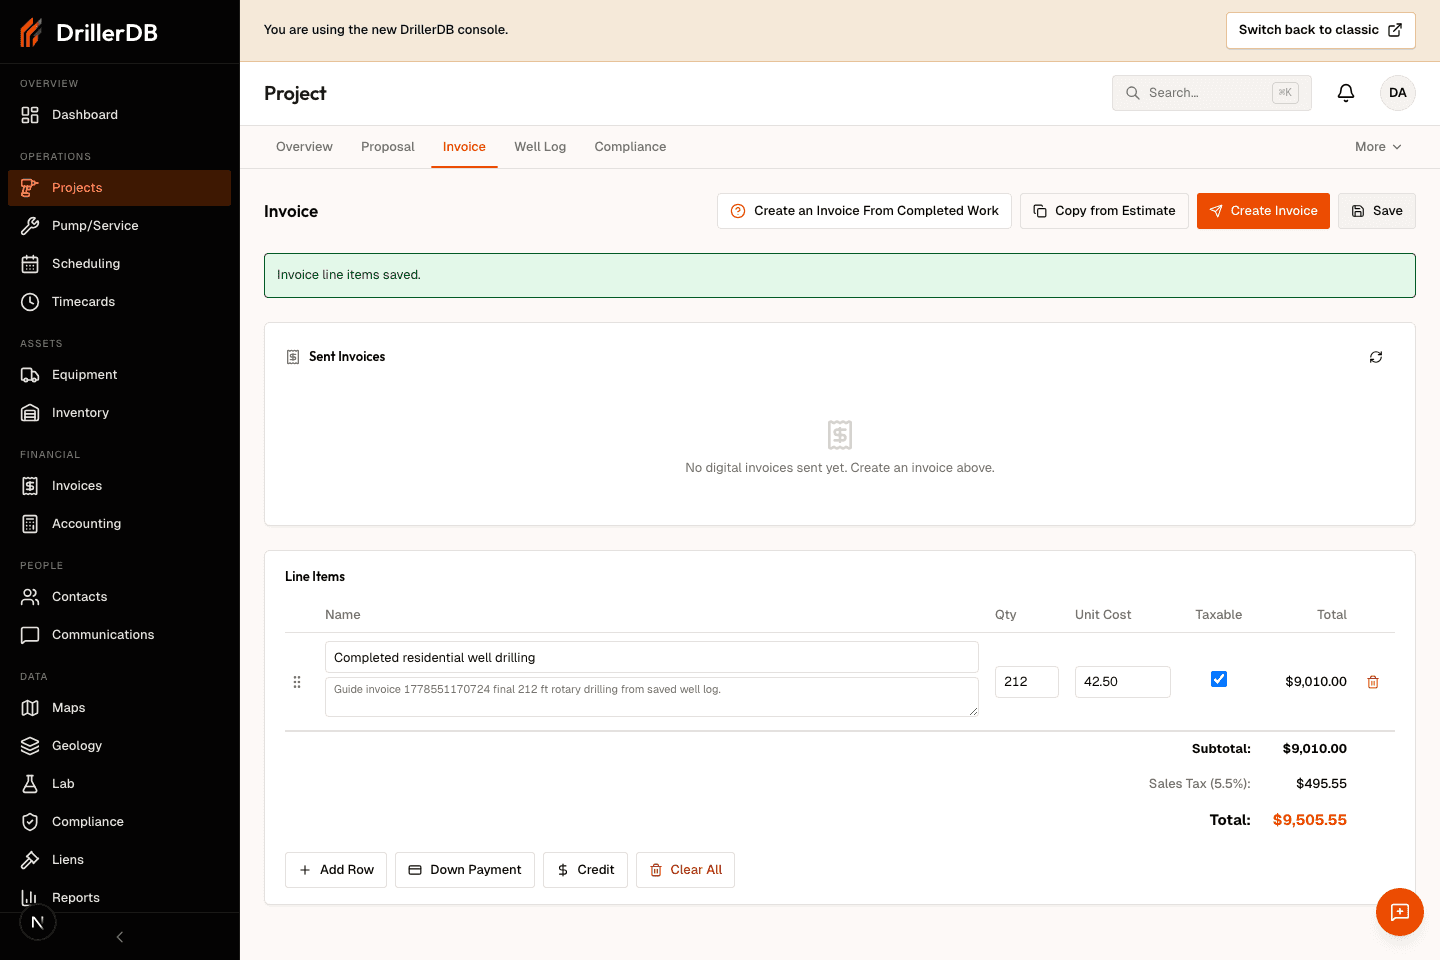
Open Create Invoice and review without sending
Click Create Invoice. In the Send Invoice dialog, review the invoice number, due date, recipients, message, terms, financing and payment options, and delivery checkboxes. For office review, leave delivery unchecked and click Create Without Sending.
Create Without Sending creates the invoice record and customer page without emailing or texting the customer.
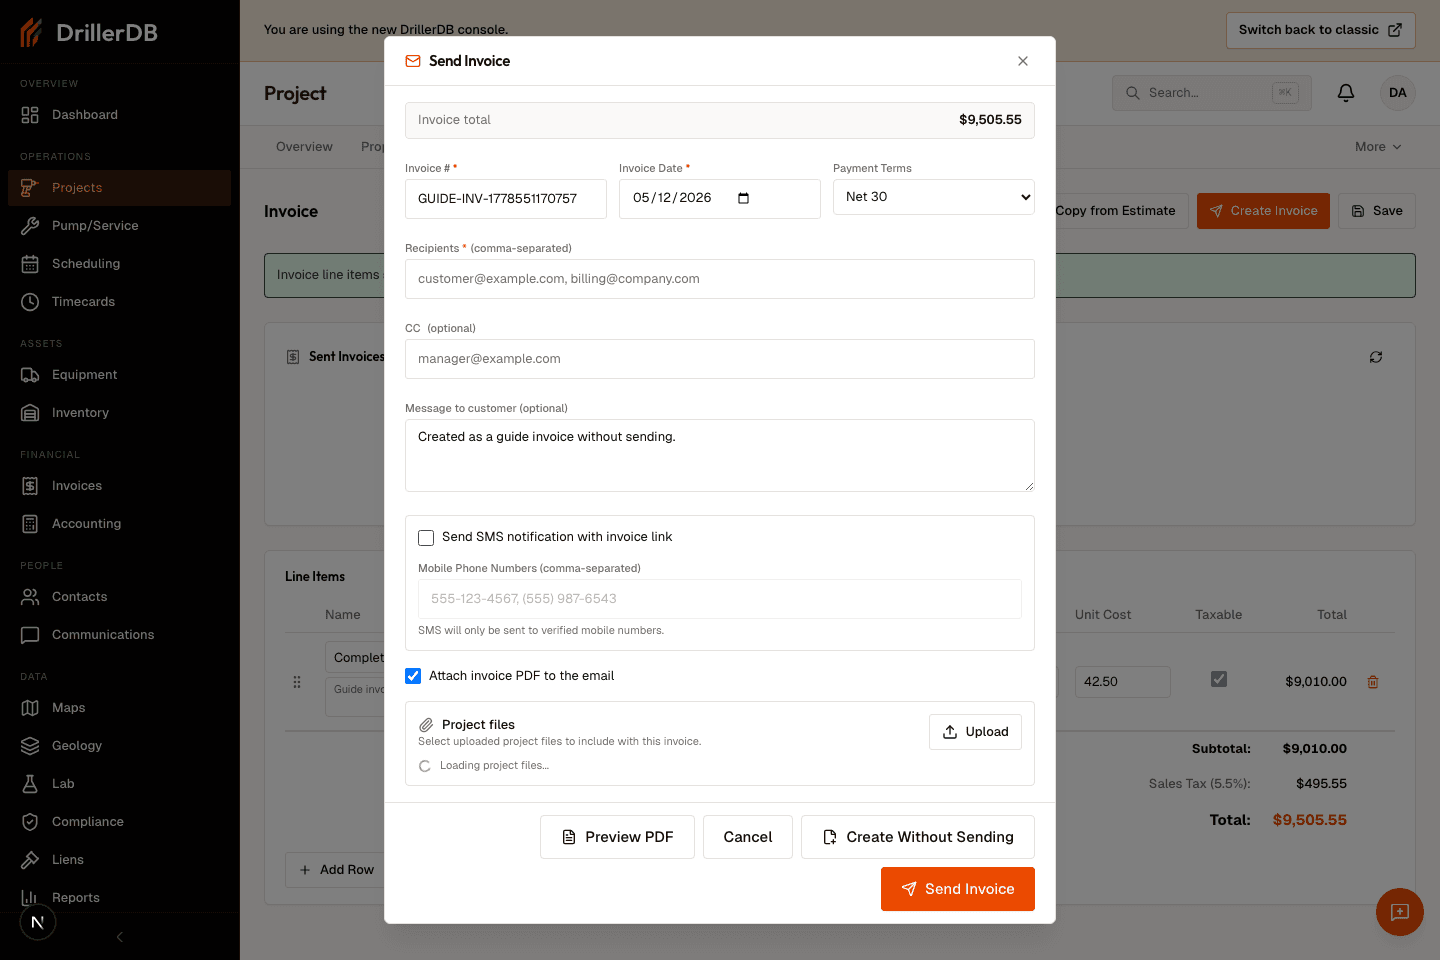
Confirm the invoice was created
After Create Without Sending, the Sent Invoices table shows the new invoice number, status, total, and action menu. Review the row before you send, take payment, revise, void, or open the customer invoice page.
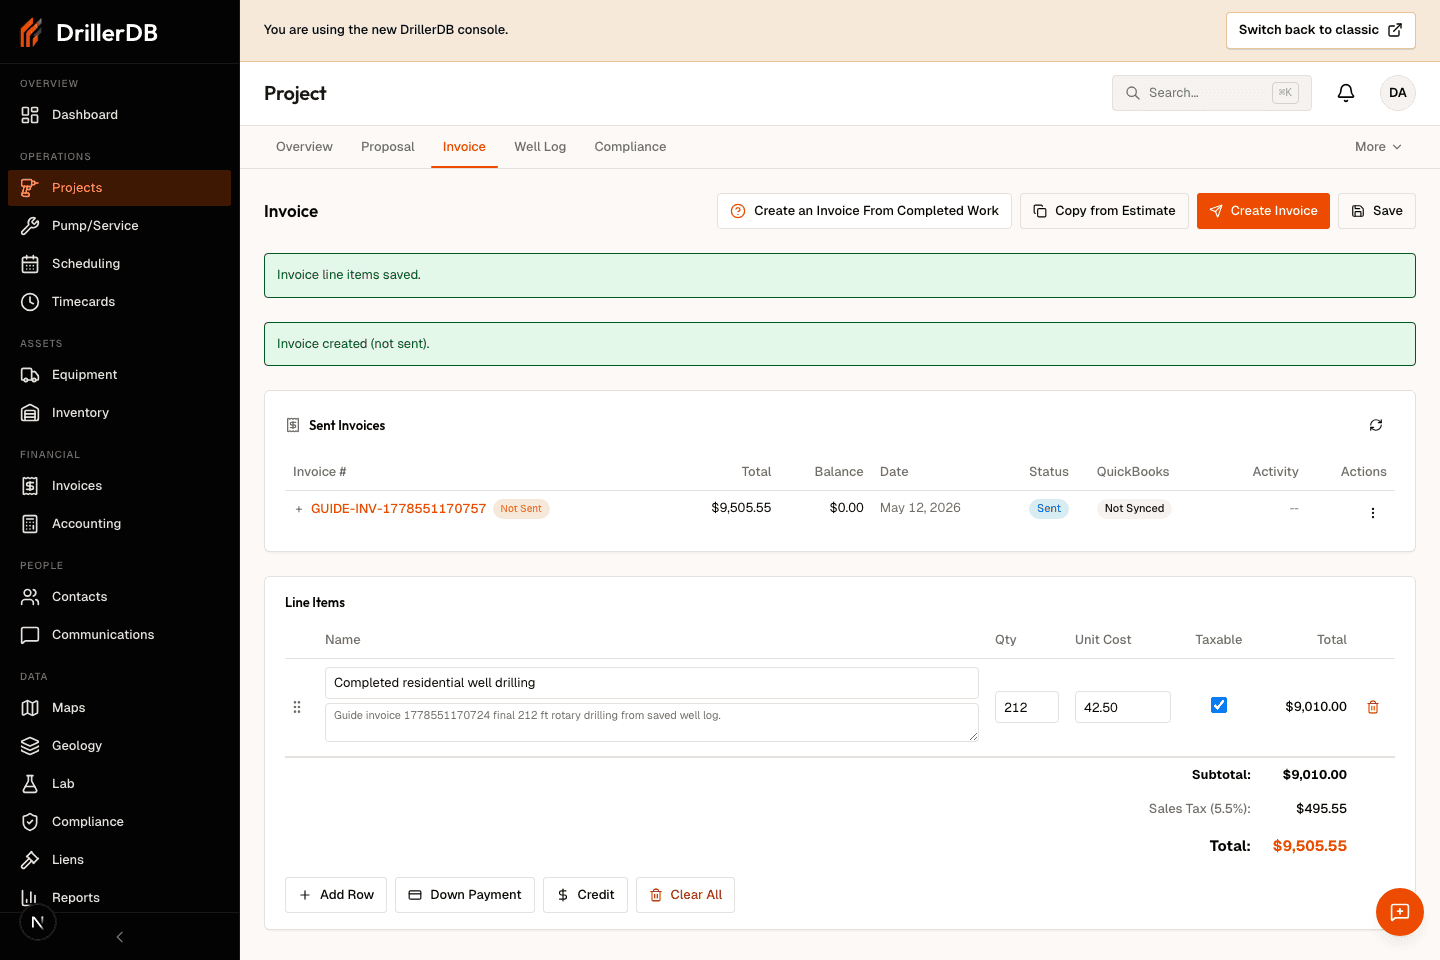
Delivery boundary
This guide records invoice creation without customer delivery. Create Without Sending creates the invoice record, total, and customer invoice page without emailing or texting anyone.
Use the send controls only after the invoice number, recipients, terms, message, payment options, and final total have been reviewed.