How Well Water Pressure Works
A well system does not pump live to your faucet. It stores batches of water under compressed air and meters them out - and three components run that cycle.
More than 23 million American households get their water from a private well, and unlike a city system with a water tower holding steady pressure overhead, every one of those homes is its own micro-utility. The EPA does not regulate private wells or set mechanical standards for them, so understanding the equipment falls to you. The good news: the whole system comes down to three parts working a loop.
The submersible pumpsits near the bottom of the well casing, often 100 to 400 feet down, below the water level. When it gets power, it pushes water up the drop pipe toward the house. Pump motors are the most expensive component in the system and the most heat-sensitive: a pump that flips on and off rapidly ("short-cycling") can burn out in months instead of lasting its expected 10 to 15 years. So the pump never feeds your faucet directly - it needs a buffer.
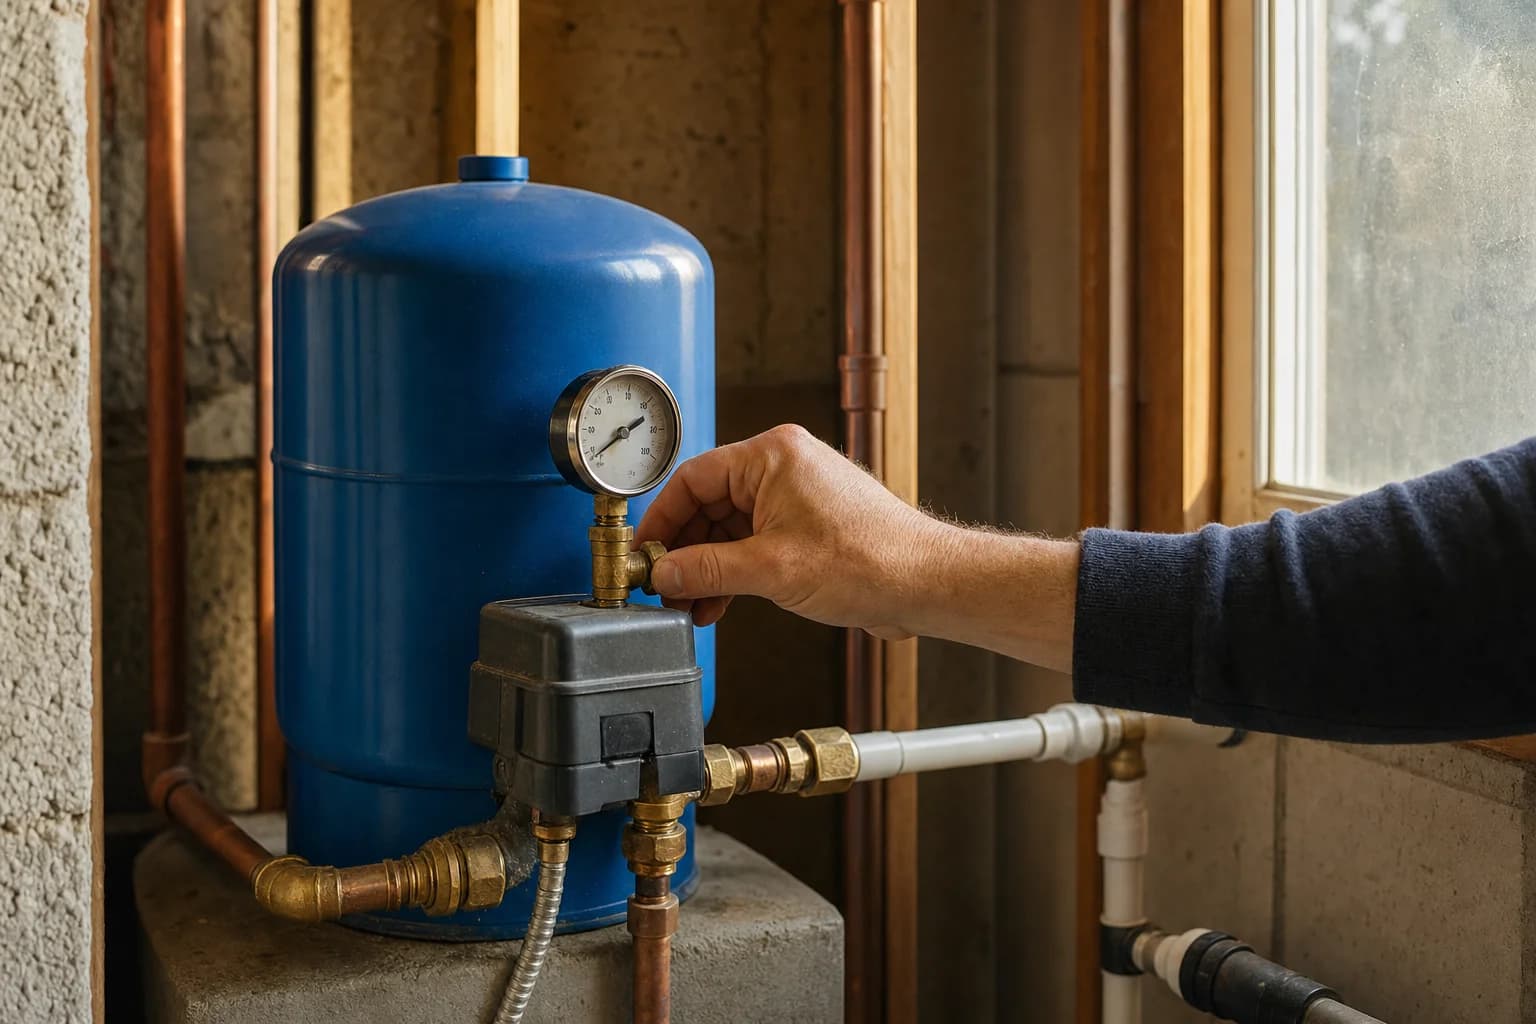
The pressure tank is that buffer. Inside the steel shell, a flexible butyl rubber bladder holds water, separated from a chamber of compressed air. As the pump fills the bladder, the air above it compresses like a coiled spring. Open a shower valve and it is that compressed air - not the pump - that pushes water through your pipes. The pump only starts once the tank is nearly spent. For sizing, short-cycling fixes, and replacement costs, see the dedicated pressure tank guide.
The pressure switch referees the cycle. It is the small box mounted on a tee near the tank, watching system pressure with two spring-loaded electrical contacts. When use drops the pressure to the cut-in threshold, the contacts snap shut and send 230/240 volts to the pump. When the tank refills to the cut-out threshold, they open and the pump stops. Our pressure switch guide covers 30/50 vs 40/60 settings, safe adjustment, and troubleshooting.
30/50 vs. 40/60: what the pressure tank settings mean
Factory switches ship with a 20 PSI spread between cut-in and cut-out, and two settings cover nearly every home:
- 30/50 PSI - pump on at 30, off at 50. Common in older or single-story homes, and easier on fragile, aging plumbing.
- 40/60 PSI - pump on at 40, off at 60. The modern standard for multi-story homes and higher demand; it delivers a stronger, more consistent flow.
45-60 PSI
is the ideal residential water pressure range, balancing comfort against plumbing wear
Source: EPA WaterSense
Diagnose Low Water Pressure Step by Step
Guessing at the cause of low pressure is how homeowners end up replacing a $2,000 pump to fix a $15 filter cartridge. Run this sequence in order.
Start with one question: is the problem at one fixture or every fixture? Low pressure at a single sink or shower is almost always a clogged aerator or cartridge - unscrew it, soak it in vinegar, done. If the whole house is weak, work through the system from the gauge outward.
The order matters because each step rules out the cheap causes before the expensive ones. A normal gauge with weak taps means the problem is downstream (filters, pipes, fixtures). An abnormal gauge means the problem is in the pump-tank-switch loop. And a system that behaves perfectly until 15 minutes into heavy use is not broken equipment at all - skip ahead to well yield decline.
How to Safely Adjust a Pressure Switch
If the system is healthy but the showers are weak, moving from 30/50 to 40/60 PSI is the classic upgrade. It takes a nut driver, a tire gauge, and respect for the wiring.
Under the cover of a standard switch (Square D and similar) you will find two spring-loaded nuts:
- The large nut (tall spring) moves the whole range - cut-in and cut-out together. This is the only one you should touch.
- The small nut (short spring) changes the differential between cut-in and cut-out. Leave it alone: the 20 PSI factory spread is standard, and widening it can make the pump hang on and never shut off.
The adjustment itself, in order:
- Kill the power at the breaker and verify with a voltage tester.
- Turn the large nut clockwise with a 3/8-inch nut driver. One full turn raises both setpoints about 2.5 PSI, so going from 30/50 to 40/60 takes roughly four complete turns.
- Reset the tank pre-charge - the step everyone misses. The air charge must sit exactly 2 PSI below the new cut-in. For a 40 PSI cut-in, that is 38 PSI: with power still off, open a faucet until all water pressure is gone, then add air through the valve on top of the tank with a compressor or bicycle pump until a tire gauge reads 38 PSI. Skip this and the new setting will short-cycle the pump.
- Restore power and watch a full cycle. The pump should shut off right at 60 PSI on the gauge.
The Waterlogged Tank Test
A waterlogged tank - one whose bladder has ruptured and filled the air chamber with water - is the single most destructive pressure problem, because it kills the pump too.
Water does not compress. Once the bladder ruptures and water floods the air chamber, the tank loses its spring entirely: open a faucet and pressure instantly crashes to cut-in (pump on); close it and pressure instantly spikes to cut-out (pump off). That short-cycle can repeat several times a minute. Every start, the motor pulls 3 to 7 times its normal running current, and without a minute or more of water flowing past it to carry that heat away, the windings cook. Ignoring a failed $400 tank is how a $2,000 pump dies.
Three checks, in escalating order of certainty:
- Tap test. Knock on the tank side from top to bottom. Healthy: hollow at the top (air), dull at the bottom (water). Waterlogged: dull all the way up.
- Temperature test. The bottom should feel cool (fresh groundwater); the top should feel like room temperature. Cool all the way up suggests water where air should be.
- Air valve test (definitive). Turn off pump power, drain the tank, and press the pin in the Schrader valve on top with a tire gauge handy. Air hissing out is fine. Water spitting out means the bladder is ruptured - the tank cannot be repaired, only replaced.
Pressure Tank Sizing and Drawdown
The number painted on a pressure tank is its total volume. What you actually get at the tap - the drawdown - is roughly a third of that.
Drawdown is the volume of water the tank delivers between the pump shutting off and switching back on. Because the compressed air charge occupies most of the shell, drawdown is only a fraction of total volume: about 31% at a 30/50 switch and 27% at a 40/60 switch (the higher the pressure, the harder the air pushes back and the less water fits). A 32-gallon tank at 30/50 holds roughly 10 usable gallons.
Sizing flows from pump protection. To dissipate startup heat, manufacturers require a minimum run time of 1 minute for pumps under 1 HP and 2 minutes for pumps of 1 HP or more, which gives the standard formula:
Required drawdown (gal) = pump flow rate (GPM) x runtime target (min)
A 10 GPM pump with a 1-minute target needs at least 10 gallons of drawdown - which is why the industry "1:1 rule" pairs a 10 GPM pump with a 32-gallon tank, not a 20-gallon one.
Run your own numbers below. The calculator uses the same Boyle's-law acceptance factors as the sizing tables above and assumes the pre-charge is set correctly at cut-in minus 2 PSI.
Bigger Guns: Constant-Pressure Systems, Booster Pumps, and What Fixes Cost
When adjustment and maintenance hit their ceiling, two architectures deliver city-grade pressure - and knowing 2026 market rates keeps an emergency repair from becoming an overcharge.
Constant-pressure (VFD) systems
A constant-pressure system replaces the on/off switch logic with a Variable Frequency Drive that speeds the pump up or slows it down in real time, holding a steady 60 PSI no matter how many fixtures are open. Because the pump modulates instantly, the system needs almost no storage - the guideline is a tank sized at 20% of pump capacity, so a 10 GPM pump runs on a 2-gallon tank. The trade-offs: $2,000-$5,000 installed, and surge-sensitive electronics that dislike lightning country.
Booster pumps and cistern storage
If the well itself cannot keep up (1 GPM or less), a bigger pump will only suck it dry faster. The fix is to decouple the house from the well: the well pump trickle-fills a 200-600 gallon atmospheric cistern around the clock, and a separate booster pump pressurizes the house from that reserve. Peak demand draws on the cistern, not the aquifer. Expect $3,000-$6,000+ installed.
National ranges synthesized from 2024-2026 industry cost data; always get 2-3 local quotes. Some states offer help - Wisconsin's DNR Well Compensation Grant covers up to $12,000 for income-eligible owners of failing or contaminated wells.
Flow Rate vs. Pressure: Not the Same Problem
Pressure is force (PSI). Flow is volume over time (GPM). Fixing the wrong one wastes money.
The garden-hose thumb trick explains it: cover the end of a hose and the spray shoots farther - pressure went up - but less total water comes out, because flow went down. Your plumbing does the same thing in reverse. Mineral scale inside old pipes or a soiled spin-down filter creates friction that strangles flow, even while the gauge at the tank shows a perfectly healthy 60 PSI.
That mismatch is the tell. Gauge healthy, taps weak: a flow restriction between the tank and the fixture - filters, scale, or a half-closed valve. Gauge low too: a genuine pressure problem in the pump-tank-switch loop. And if the gauge is healthy and the taps are strong but the system cannot keep up with the sprinklers, you are bumping into the third metric - well yield, the GPM the well itself can sustainably produce. That one gets its own section.
When Low Pressure Means Your Well Is Declining
Pressure that starts strong and dies after 15 minutes of heavy use is not an equipment symptom. It is the well running out of water faster than the aquifer refills it.
Every well has a sustainable production rate - its yield. Penn State Extension classifies a well producing 1 GPM or less as low-yielding. On paper, 1 GPM is 1,440 gallons a day, plenty for a household. In practice, water use piles into peak windows: a busy morning can demand 300 gallons in two hours, while a 1 GPM well can only supply 120. The pump drains the water stored in the casing, then starves - and your pressure collapses until the well recovers.
1 GPM
or less is the threshold at which a well is classified as low-yielding
Source: Penn State Extension
A real case from the source research: a homeowner with perfect morning pressure that died after 15 minutes of continuous use. Tank, switch, and filters all tested fine. A flow test found the 200-foot well recharging at just 1 GPM - the pump emptied the casing in 15 minutes, then ran dry. The fix was a 500-gallon cistern plus booster pump ($4,500 itemized: $1,200 cistern, $1,800 booster, $1,500 labor and materials), not a new well pump. Drought years and seasonal water-table swings make this pattern more common, and buying a bigger pump only makes it worse.
Before anyone quotes you a solution, know your well's baseline. Your original drilling record lists the depth, casing, static water level, and the yield the driller measured on completion day - the single best reference point for whether today's performance is decline or normal. Look up your well's record for free and compare, or browse nearby wells on the well mapto see what depths and yields your neighbors' wells report. If the math points to yield decline, a licensed well contractor can run a proper flow test and size a cistern system.
Frequently asked questions
Keep reading
Sources & further reading
- Private Drinking Water Wells — U.S. EPA (accessed June 2026)
- WaterSense: Home Maintenance and Water Pressure — U.S. EPA (accessed June 2026)
- Using Low-Yielding Wells — Penn State Extension (accessed June 2026)
- Water Well Pumping Systems — National Ground Water Association (NGWA) (accessed June 2026)
- Drinking Water: Private Wells - Well Safety and Maintenance — U.S. CDC (accessed June 2026)
- Wellowner.org: Well System Components and Pressure Tanks — NGWA / Wellowner.org (accessed June 2026)
- The Private Well Class — University of Illinois / privatewellclass.org (accessed June 2026)
- How Much Does a Well Pump Cost to Replace? — HomeGuide (accessed June 2026)
- Water Well Journal: Pump Cycling and Tank Sizing — NGWA / Water Well Journal (accessed June 2026)
- Well Compensation Grant Program — Wisconsin DNR (accessed June 2026)